There are 2 ways to get a good set of measurements for your custom shirts:
Method 1: If you have a shirt that fits just right, or if it needs small adjustments, you can measure your existing shirt.
Method 2: If you prefer to provide body measurements, you’ll need a friend to help you. We’ll show you how to do it (see below)…
NOTE: Whichever method you choose, you’ll need a flexible fiberglass measuring tape like tailors use. The cloth ones stretch, so make sure it’s fiberglass. You can find them at a fabric store and most drug stores.
Follow these steps:
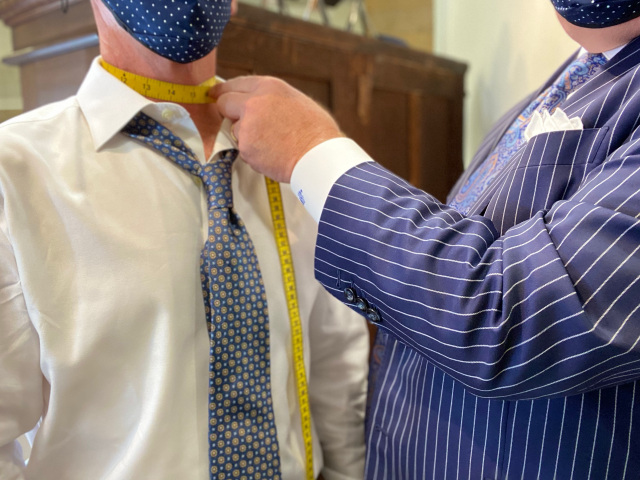
Neck: With the shirt collar unbuttoned, measure around the neck just under the Adam’s apple. The top of the tape should be about where the top of the collar would be. This measurement is taken on skin, not too snug, and not loose. Don’t add to it. We’ll add for comfort and for anticipated shrinkage. Record your measurement to the nearest 1/8 inch.
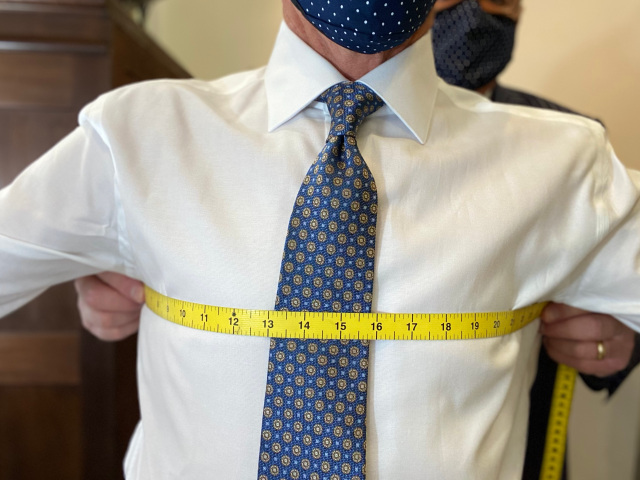
Chest: Standing behind the customer, place the tape around the chest, pulling it high under the armholes. Make sure the tape captures the fullest part of the chest in front, and finish in the center of his back. Record your body chest measurement to the nearest 1/8 inch.
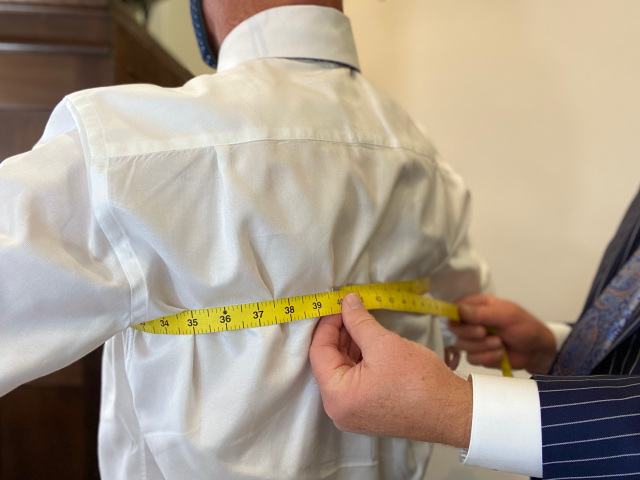
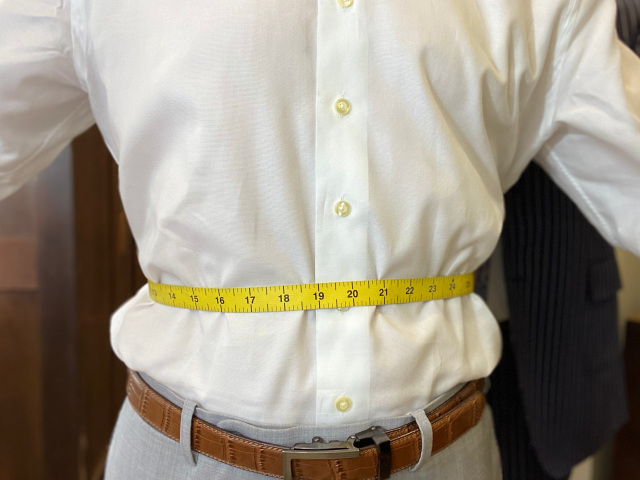
Shirt Waist: This measurement is taken at the fullest part of the belly. Starting with the collar button, count down to the 6th button, and this should be about where the fullest part of the belly is located. Standing behind the customer, measure all the way around, finishing at the center of the back. Don’t add anything to the measurement. We will do that.
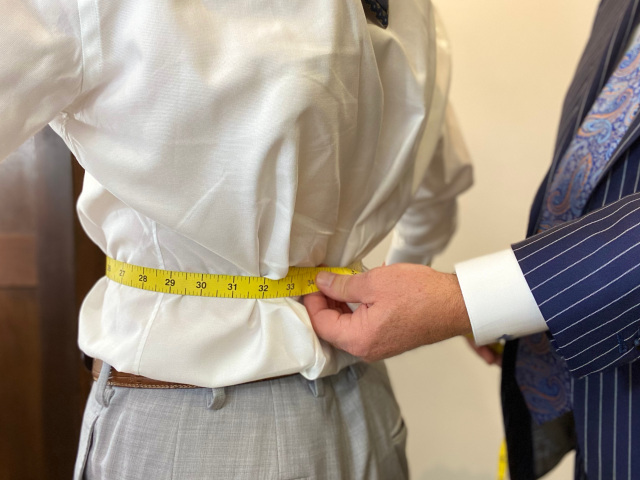
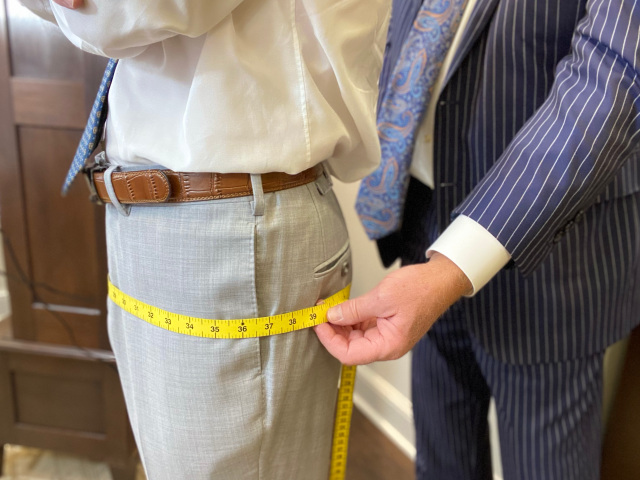
Shirt Bottom: This measurement is taken around the hips and fullest part of the seat. Finish on the side and record to the nearest 1/8 inch. Don’t add anything to this measurement.
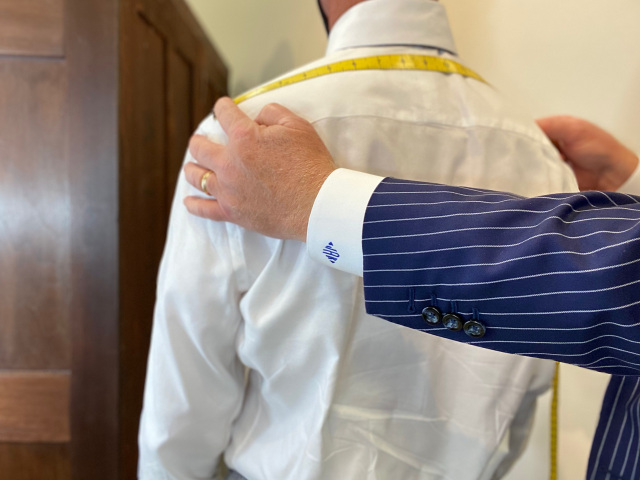
Shirt Yoke: Measure across the shoulder from the point where the shoulder meets the top of the arm to the same point on the other side. It is a little bit vague, so if the customer likes the way the shoulder fits on the shirt he’s wearing, you can measure to the stitch where his yoke meets the top of the sleeve. But if he doesn’t like the way his current shirt fits, you can adjust accordingly. Once you have determined the desired yoke, record the measurement to the nearest 1/8 inch.
Shirt Sleeves: Sometimes sleeves on a custom shirt need to be different lengths, so measure each one separately. Have the customer make a fist. Measure from the center of the shirt yoke across the the top of the actual sleeve, then continue down to the pinkie knuckle. Record the measurement to the nearest 1/8 inch.
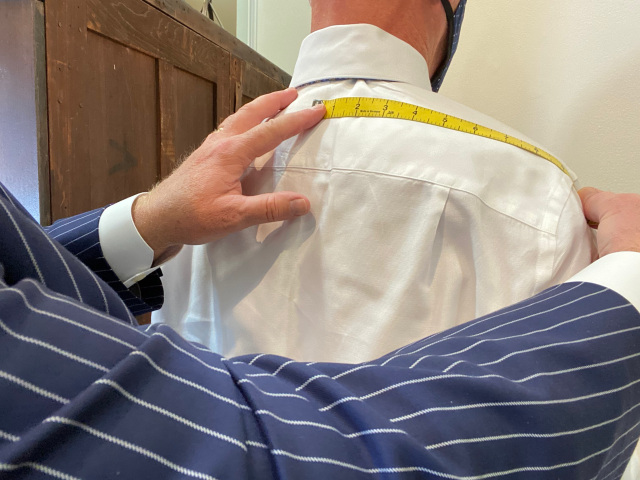
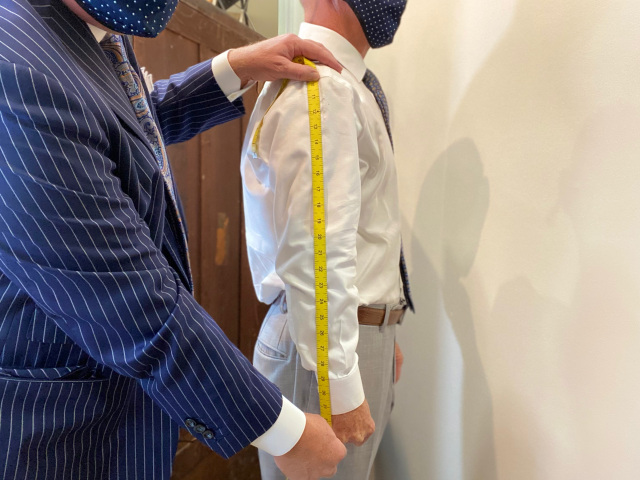
Bicep: Have the customer bend his arm and flex his bicep. Measure around the arm at the fullest part of the bicep.
(Photo coming soon)
Wrist: Measure the wrist, making sure to capture the wrist bone. Measure each wrist separately and record your measurements to the nearest 1/8 inch. Don’t add to this measurement.
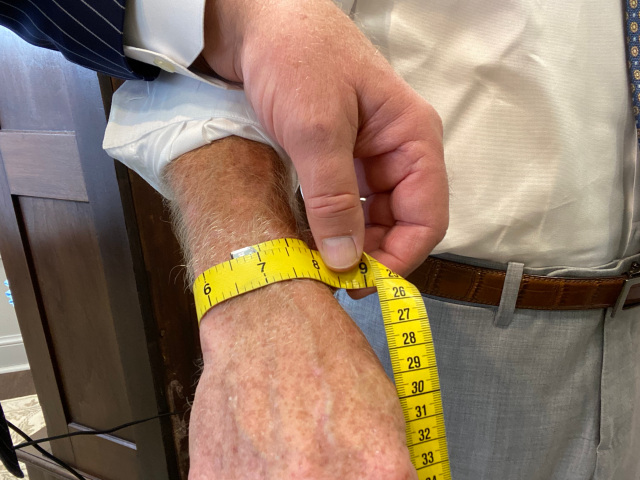
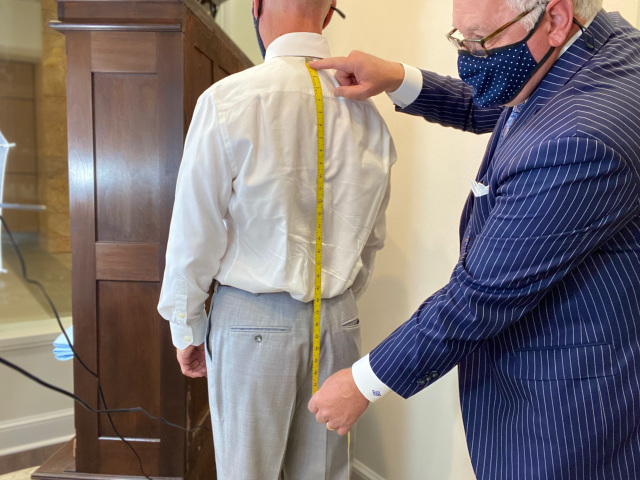
Shirt Tail Length: Standing behind the customer, measure from the bottom edge of the collar down to the desired length. If the customer will wear the shirt untucked, it is usually preferable to be about 2 inches shorter than shirts that will be worn tucked. If you don’t know the preference, measure to the curvature of the buttocks.
